기록
Next.js의 session 확인법
als982001
2023. 7. 20. 16:17
코딩애플의 Next.js 강의를 수강한 후, session 확인법을 기록하려 한다. 유저 정보를 session을 통해 확인할 수 있다. 하지만 server component에서의 확인법과 client component의 확인법이 서로 다르다.
1. Server Component
Server component에서는 getServerSession을 이용해 확인할 수 있다.
import { authOptions } from "@/pages/api/auth/[...nextauth]";
import { getServerSession } from "next-auth";
export default async function Home() {
let session = await getServerSession(authOptions);
console.log(session);
return <div>Home!</div>;
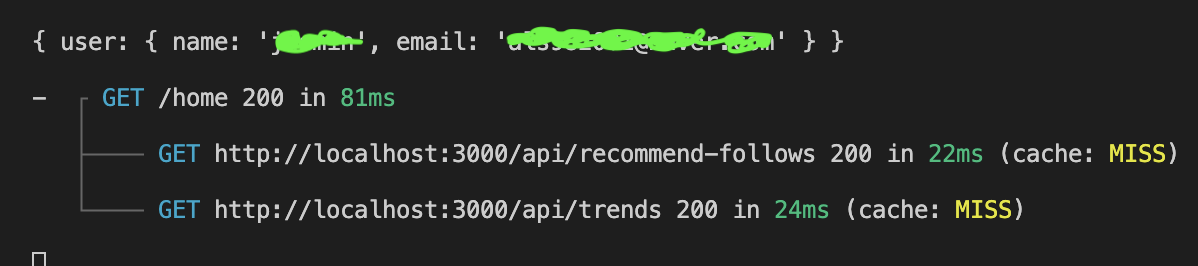
}로그인 상태에 따른 출력 결과는 아래와 같다.

2. Client Component
Client component에서는 SessionProvider와 useSession을 이용해 확인할 수 있다. 우선, useSession을 이용하기 위해서는 SessionProvider를 이용해 감싸주어야 한다. 이는 layout을 통해 가능하다.
// layout.tsx
"use client";

interface IProps {
  children: React.ReactNode;
}

import React from "react";
import { SessionProvider } from "next-auth/react";

export default function Layout({ children }: IProps) {
  return <SessionProvider>{children}</SessionProvider>;
}
위의 코드는 타입스크립트 코드로, 자바스크립트의 경우에는 IProps 부분을 지워주면 된다. 그리고 page에서 useSession을 이용하면 된다.
// page.tsx
"use client";

import { useSession } from "next-auth/react";

export default function Join() {
  let session = useSession();
  if (session) {
    console.log(session);
  }

  // 생략
}
로그인 상태에 따른 console.log(session)은 다음과 같다. data: null인 사진은 로그인하기 전의 출력 결과이고 data에 무엇인가 있는 사진은 로그인한 후의 출력 결과이다.


3. 서버에서
import { getServerSession } from "next-auth";
import { authOptions } from "../auth/[...nextauth]";

export default async function handler(req: any, res: any) {
  const session = await getServerSession(req, res, authOptions);
  console.log(session);

  res.status(200);
}
서버에서도 getServerSession을 이용하면 확인할 수 있다. Server component와 마찬가지로 터미널에서 결과를 확인할 수 있다.